Estimated Reading Time: 10 minutes
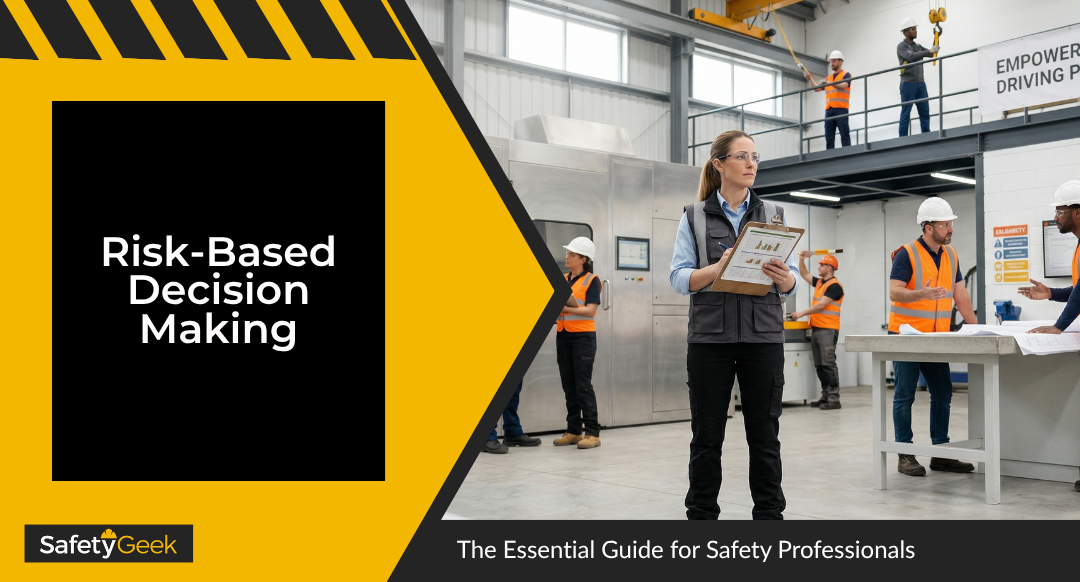
Risk-based decision making is a crucial approach for safety professionals looking to prioritize hazards based on actual risk rather than gut feeling or mere compliance checklists. This guide dives into how you can apply risk-based decision making to build a safety program that truly protects people by evaluating both the likelihood and consequence of hazards.
By understanding and using the risk assessment process, including techniques like job hazard analysis and bowtie analysis, safety pros can make smarter, evidence-backed safety decisions. This comprehensive approach goes beyond ticking boxes, helping you target real risks, communicate clearly with leadership, and embed risk thinking into your entire safety management cycle.
Key Takeaways
- Risk-based decision making outperforms compliance-only thinking by focusing on actual hazard likelihood and consequence.
- The risk assessment process is continuous and includes hazard identification, risk analysis, evaluation, and control selection.
- Job hazard analysis (JHA) breaks down tasks step-by-step to identify hidden risks and connects directly to training and controls.
- Effective hazard identification requires layering multiple techniques for full coverage.
- Bowtie analysis visually maps hazards, controls, and consequences to clarify complex risk for leadership.
- Risk-based decision making integrates into every phase of the Safety Management Cycle for maximum impact.
What Is Risk-Based Decision Making?
Risk-based decision making is a systematic approach to evaluating the consequences and likelihood of hazards. You use it to make smarter, more strategic decisions in safety and EHS. It moves you beyond gut calls and compliance checklists straight to decisions backed by real-world evidence.
Here’s the core formula: Risk = Likelihood x Consequence. Applying it consistently… that’s where most safety programs drop the ball.
So why does this matter? A B-grade safety program ticks boxes. A truly great one asks, “Which risks are ACTUALLY most likely to hurt someone, and how badly?” Research from Dakota Software proves risk-based programs reduce serious injuries and fatalities more than compliance-only thinking.
This ties directly to Phase 1 of the Safety Management Cycle: Identify. If you skip accurate identification, every control and training decision downstream sits on shaky ground.
If risk-based thinking is new to you, The Safety Geek’s Intro to Risk-Based Thinking training breaks it down without the jargon overload.
The Risk-Based Decision Making Assessment Process: Your Roadmap
You probably know you need a risk assessment process. But most pros skip steps or treat it as a one-time checklist. In reality, risk assessment is a continuous process with four key phases, each feeding the next. ComplianceQuest and Forms on Fire outline these core steps:
- Hazard Identification: Review your workplace for physical, chemical, biological, ergonomic, and psychosocial hazards. Use checklists, audits, and direct employee feedback.
- Risk Analysis: Score each hazard for likelihood and severity, usually with a risk matrix.
- Risk Evaluation and Prioritization: Rank hazards and focus energy and budget where the risk is highest.
- Risk Control Selection: Choose controls in this order every time: engineering controls, administrative changes, and then PPE last.
You can’t manage what you don’t see. Accurate hazard identification is EVERYTHING. If your team never asks frontline workers what they’re worried about, your checklist alone isn’t enough.
The risk assessment process connects straight to the Develop phase of the Safety Management Cycle. Once you know your top risks, you build JHAs, SOPs, and training plans around them.
Job Hazard Analysis: Your Task-Based Risk-Based Decision Making Power Tool
Job hazard analysis is where risk-based thinking gets REAL. A JHA breaks down a task step by step and surfaces the risks hiding in each one. Forms on Fire says this feeds right back into your broader risk process and sets you up for targeted, braggable results.
Here’s the truth: A solid JHA isn’t just another piece of paperwork. It maps out your SOPs, training, field observation forms, and supervisor coaching guides. Imagine a maintenance crew doing energy isolation. Without a detailed JHA, supervisors don’t know what deviations to spot, and training stays generic. With a good JHA, every part of your safety program connects.
JHAs back up the “coach of the coaches” model I teach at The Safety Geek. When supervisors understand the task-level hazards, they catch risk in real time and can coach their team on the spot. This system works even when you’re not physically there.
Want to get better at this? The Safety Geek’s JHA Masterclass helps pros like you move beyond surface-level forms to REAL operational expertise.
THE ALL-ACCESS PASS RESOURCE PAGE
Get all the FREE templates, safety management resources, PDFs, spreadsheets, and more...
Digging Deeper Into Hazard Identification Techniques
One hazard identification technique is NEVER enough. Layering several techniques gives you the best coverage and catches the risks any single tool will miss. The most effective EHS programs use a mix, not just one method.
Key hazard identification techniques to keep in your toolkit:
- Workplace inspections with digital checklists for consistency and trend tracking
- Incident investigation and near-miss analysis to learn from close calls
- Employee interviews and behavioral observation to reveal what’s actually happening
- Historical incident data review to spot patterns over time
- Analytical methods like HAZOP, FMEA, and bowtie analysis for high-consequence scenarios
Frontline supervisors are your first line of defense, but they need training and feedback to use these tools. That’s where the Safety Management Cycle’s Coach and Observe phase comes in – you build their skill and reinforce it through field coaching.
Using Bowtie Analysis Safety for Clearer Risk Visualization
Bowtie analysis is a powerful visual risk tool. It connects three key things: the hazard, the controls (in the center), and the consequences if things go sideways. It’s a top choice for complex scenarios where cause-and-effect isn’t obvious.
Why should you care? When you show up to a leadership meeting with a bowtie diagram – think chemical release or energy isolation – you move past safety jargon. You’re showing leadership where the gaps are and exactly what needs fixing. That’s how you earn a seat at the table.
Bowtie analysis sharpens your whole risk-based decision making. By mapping each control, you see which ones are critical and where you’re relying on weaker barriers. For instance, if three out of six controls are only administrative, with no engineering backup, that’s a braggable insight for smarter investment.
The Safety Geek’s Bowtie Analysis Training will help you master these skills so you communicate REAL value in a language your leaders respect.
Bringing Risk-Based Decision Making Into Your Entire Safety Program
Here’s where it all comes together. Risk-based decision making is not a one-off. It is the backbone of your full safety program, tying directly into every phase of the Safety Management Cycle.
Here’s how the cycle looks when you do it right:
- Identify: Use layered hazard identification techniques for physical, chemical, ergonomic, and psychosocial risks.
- Develop: Build JHAs, SOPs, and training content around your highest-priority risks.
- Implement and Train: Roll out controls and train employees and supervisors on the exact risks and behaviors you expect.
- Coach and Observe: Get in the field, observe work, give real-time feedback, and coach supervisors to do the same.
- Analyze: Track indicators and results and give reports in language leadership cares about.
Organizations building risk-based thinking into ongoing management get better outcomes than those just checking the box once a year. That’s consistency. That’s real system design.
And here’s the best part… Being a team of one doesn’t mean you do it alone. When you coach supervisors to spot hazards and coach their teams, you multiply your reach without multiplying your hours. That’s the power of the “coach of the coaches” model. Safety is the Golden Opportunity, and every smart, risk-based choice you make protects lives and grows profit.
Frequently Asked Questions About Risk-Based Decision Making
What is risk-based decision making in safety?
Risk-based decision making in safety is a structured approach that evaluates hazards based on likelihood and consequence. You use it to prioritize the right risks, allocate resources where they matter, and move beyond the pencil whipping of compliance-only programs. The core formula is Risk = Likelihood x Consequence, and it works across every level of your safety system.
How is the risk assessment process different from a basic safety inspection?
A safety inspection spots what you see during a walk-through, right now. The risk assessment process goes much further, scoring each hazard for likelihood and severity, ranking them, and using that data for real control selection. Inspections are just one input for risk assessment, not a replacement.
What is the difference between a JHA and a risk assessment?
A JHA focuses on a specific job by breaking it down into steps and finding the hazards in each. Risk assessment covers multiple jobs, processes, or an entire facility. JHAs feed into your risk assessment by providing the step-by-step hazard insight you need for solid controls, training, and supervisor coaching.
What is bowtie analysis and when should I use it?
Bowtie analysis is a visual risk tool that shows the causes, controls, and consequences of a hazard event all in one diagram. Use it for complex or high-consequence scenarios when you need to lay out risk in plain language for leadership or teams across the plant. It clarifies where to invest time and resources.
Which hazard identification techniques are most effective?
No single technique finds every hazard. Use a mix: inspections, incident and near-miss investigations, interviews, historical data reviews, FMEA, bowtie analysis, and more. Combining methods always provides more coverage and closes your blind spots. Also, pulling in employees during inspections boosts both buy-in and detection.
TAKE ACTION
Where do you stand today? Ask yourself these three questions:
- Are you using a structured risk assessment process or just winging it based on gut feel or whoever yells loudest?
- Which hazard identification techniques do you use regularly, and which ones do you leave out?
- When did you last update or create a JHA for your highest-risk jobs?
Pick ONE of those areas and take a real step this week. Review your current risk controls on your top three hazards. Schedule a field observation with a supervisor. Dust off an old JHA and update it with input from the field. No need to overhaul everything. Start where you are.
Ready to build your system around risk-based decision making? The Safety Geek’s training covers everything from risk thinking to advanced tools like bowtie analysis and JHA mastery. You got this. And I got you.
Now It’s Your Turn
What’s the ONE hazard identification technique you trust most in your daily safety work, and why does it work for you? How are you prioritizing risk in your program? Is your system working… or does it feel like educated guessing?
Share your answer in the comments below. Brag about a win or tell us where you’re stuck. If you need a guide on the side for something tricky, just ask. The Safety Geek community is here to help you build braggable results without the safety police hat.
Hi, I'm Brye (rhymes with sky)! I am a self-proclaimed safety geek with two decades of general industry safety experience. Specializing in bringing safety programs to a world-class level and building a safety culture, I have trained and coached many safety managers, just like you, on how to effectively manage workplace safety in the real world. I would love to help you too.