Estimated Reading Time: 7 minutes
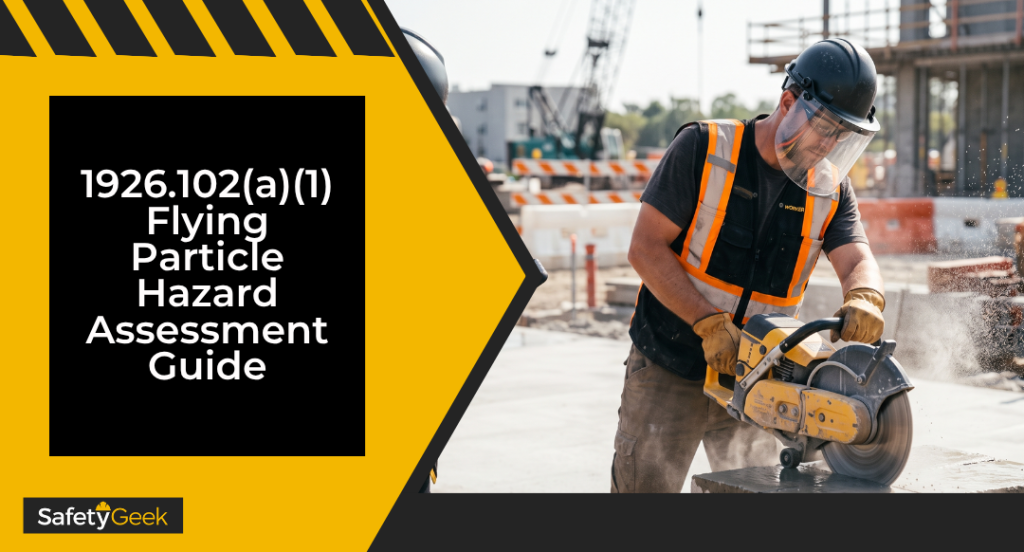
A 1926.102(a)(1) flying particle hazard assessment is a task-by-task review of where chips, debris, and fragments can reach a worker’s eyes, matched to the right ANSI-rated protection for each job. You survey the work, rank the risk, pick Z87 or Z87+ eyewear with side shields, and document it. OSHA cited eye and face protection over 1,600 times last year. A written assessment keeps you off that list.
A 1926.102(a)(1) flying particle hazard assessment is how you decide what eye protection each task actually needs. The standard requires it any time workers face flying particles from cutting, grinding, or fastening. Do it right, and the eyewear you hand out matches the real hazard instead of a guess.
Here’s the part that trips up most safety managers. You’ve got safety glasses in a bin by the door and a policy in a binder nobody has touched since 2015. But nobody ever walked the site task by task and asked what’s really flying at eye level… and that gap is exactly what an inspector or a serious injury exposes.
Key Takeaways
- A flying particle hazard assessment is task-based, not site-wide. Each job gets its own look.
- OSHA treats flying particles as an impact hazard. That drives the Z87+ high-velocity rating.
- Side protection is required when objects can strike from the side. Detachable side shields count.
- Grinding, masonry sawing, and powder-actuated fastening are your highest-risk eye tasks.
- The assessment must be written down, with the work area, date, and assessor’s name.
- Nearly 70% of workplace eye injuries come from flying or falling objects. Most are preventable.
What a 1926.102(a)(1) Flying Particle Hazard Assessment Really Covers
A flying particle hazard assessment is a systematic review of each task to find where solid fragments can reach a worker’s eyes or face, then to select protection that stops them. Under 1926.102(a)(1), OSHA requires appropriate eye or face protection any time an employee is exposed to hazards from flying particles, molten metal, liquid chemicals, gases, or injurious light. Flying particles are the impact side of that list.
OSHA and NIOSH both classify flying debris as an impact hazard. That matters because impact drives which ANSI rating you need. Basic-impact eyewear carries a Z87 mark; high-velocity impact carries Z87+.
For most construction cutting and grinding, Z87+ with side protection is the floor, not a nice-to-have. And the assessment is not a one-time checkbox. Construction changes by the hour… new trades, new tools, new phases… and each one can introduce a fresh eye hazard your last walk never saw.
Flying particles vs. the other eye hazards
Flying particles get grouped with chemical splash, dust, and radiation under the same standard, but they call for different gear. Impact needs rated lenses and side shields. Splash needs sealed goggles.
Radiation needs filtered lenses or a welding shield. Naming the hazard type is the whole point of the assessment… it tells you which category of protection the task actually requires.
Where Flying Particle Hazards Hide on a Construction Site
Most eye injuries don’t come from freak accidents. They come from routine tasks nobody flagged as dangerous. When I walk a site, the same operations show up over and over as the real culprits.
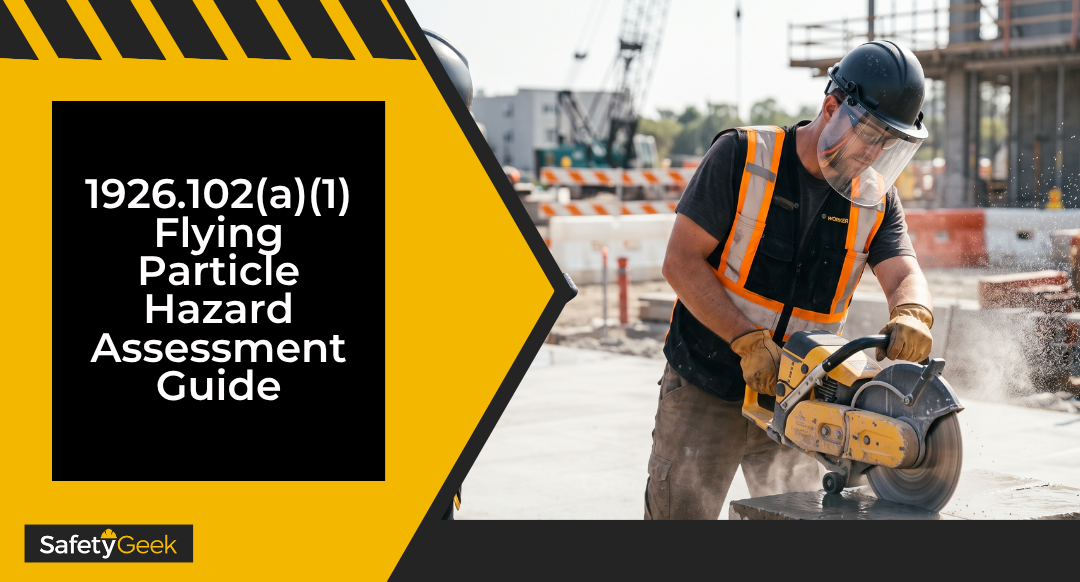
- Grinding and cutting metal – sparks and slivers moving at high speed
- Masonry and concrete sawing – silica chips and grit
- Powder-actuated and pneumatic fastening – nails, fragments, and ricochet
- Chipping, jackhammering, and demolition – flying concrete
- Overhead drilling – debris falling straight toward the eyes
- Wire brushing and scaling – rust and metal flakes
NIOSH reports that most workplace eye injuries come from small particles… dust, cement chips, metal slivers, wood chips… striking or scraping the eye. The American Academy of Ophthalmology puts the toll near 20,000 serious eye injuries a year, costing around $300 million. Nearly 70% trace back to flying or falling objects.
Overhead work deserves its own callout. Standard safety glasses protect the front and sides, but drilling or grinding above your head sends debris down and behind the lens. That’s where a face shield worn over glasses earns its keep.
How to Run a Flying Particle Hazard Assessment Step by Step
Running the assessment isn’t complicated. It’s disciplined. Walk the work as it’s actually performed, not as the SOP imagines it, and you’ll see the hazards the paperwork misses.
This is the Identify phase of the Safety Management Cycle in action… you can’t develop a control for a hazard you never named.
- List the tasks by trade and phase, and break each job into steps.
- Watch the work happen. Note shortcuts, tool kick-back, and where the debris travels.
- Name the eye hazard for each step: impact, splash, dust, or radiation.
- Rank the risk. How likely is it, and how bad if it lands?
- Match protection to the hazard and its ANSI mark.
- Note the controls – guards, tool shields, wet cutting – that cut debris first.
- Write it down and certify it.
If you already run a job hazard analysis, you’re most of the way there. The eye assessment lives right inside it. Add an eye and face column to your JHA and you capture the hazard, the control, and the required PPE in one document your crew already signs. This is the same discipline behind a full hazard assessment, just narrowed to the eyes.
THE ALL-ACCESS PASS RESOURCE PAGE
Get all the FREE templates, safety management resources, PDFs, spreadsheets, and more...
Matching Eye Protection to the Flying Particle Hazard
Once you’ve named the hazard, selection is straightforward. The ANSI/ISEA Z87.1 marking on the eyewear tells you what it can take. Read the mark before you buy, and match it to the task.
| Hazard on the task | Minimum eye protection | ANSI marking |
|---|---|---|
| Low-energy debris, general dust | Safety glasses with side shields | Z87 |
| High-velocity impact (grinding, cutting, fastening) | Safety glasses or goggles with side protection | Z87+ |
| Heavy fragments or overhead impact | Z87+ glasses plus a face shield | Z87+ (primary) |
| Chemical splash with debris | Sealed goggles, add a face shield | Z87 D3 |
| Welding or cutting radiation | Filtered shield over impact eyewear | Z87 W + shade # |
Remember where PPE sits in the order of protection. It’s the last line of defense, not the first. Before you settle on a lens rating, ask whether a guard, a shield on the tool, wet cutting, or an exclusion zone could cut the debris at the source.
Elimination and substitution beat any pair of glasses… they remove the hazard instead of blocking it. The assessment is where you catch those chances, because you’re looking at the task before you reach for a lens.
Documenting the Assessment So It Holds Up in an Audit
A flying particle hazard assessment only counts if it’s written down. OSHA’s general PPE rule sets the template safety managers follow: a certification that names the work area, the date, and the person who did the assessment. Construction leans on that same expectation through the PPE criteria in 1926.28 and 1926.95.
Your written record should capture, for each task, the eye hazard, the risk ranking, the selected PPE with its ANSI mark, and any controls that reduce the debris. Add a line for who assessed it and when. That’s the difference between a program that protects people and a policy that just collects dust.
Then keep it alive. New equipment, a new subcontractor, or a near-miss all trigger a fresh look. An assessment from three phases ago doesn’t cover the grinder that showed up yesterday.
Under OSHA’s current penalty schedule, a serious 1926.102 violation can cost up to $16,550, and willful or repeat violations up to $165,514. But the citation is rarely the worst cost. The worst cost is the worker who loses an eye on a task you could have flagged in ten minutes.
Frequently Asked Questions About Flying Particle Hazard Assessments
Is a flying particle hazard assessment required by OSHA?
Yes. 1926.102(a)(1) requires appropriate eye and face protection whenever workers face flying particles, and you can’t select “appropriate” protection without assessing the hazard. Construction’s PPE criteria in 1926.28 and 1926.95 back the same duty to evaluate the work and match protection to it.
What’s the difference between Z87 and Z87+ eyewear?
Z87 means the lens passed basic impact testing. Z87+ means it passed high-velocity impact testing, where a projectile is fired at the lens. For grinding, cutting, and fastening, Z87+ with side protection is the minimum, because those tasks throw debris fast.
Do safety glasses need side shields for flying particles?
Yes, when objects can strike from the side. 1926.102 requires side protection during operations with flying-object hazards. Detachable side shields meet the rule, but wraparound Z87+ lenses give better coverage and don’t fall off or get left behind in a gang box.
How often should I redo the assessment?
Redo it whenever conditions change… new equipment, a new task or trade, a different cutting method, or after any eye injury or near-miss. There’s no fixed calendar, but a stale assessment is a common citation. Tie the review to your pre-task planning so it happens on its own.
Who can perform the hazard assessment?
Anyone competent to recognize the hazards and judge the protection, usually the safety manager, a competent person, or a trained supervisor. The certification must name that assessor. What matters is that they can spot the impact risk and match it to the correct ANSI-rated gear.
Now It’s Your Turn
A flying particle hazard assessment isn’t extra paperwork. It’s the ten-minute habit that keeps someone’s vision intact and keeps your name off an OSHA citation.
Here’s where to start this week:
- Pick your three highest-debris tasks… grinding, sawing, fastening… and walk them while they happen.
- Name the eye hazard and rank it for each one.
- Match the ANSI mark to the task, and add side or face protection where objects can strike.
- Write it down with the date, the area, and your name.
- Set a trigger to revisit it when tools or trades change.
This kind of task-based thinking is the whole foundation of the Safety Management Cycle… identify the hazard, develop the control, then coach it in the field. If you want the full system for turning assessments like this into a program that earns you a seat at the table, my free training walks you through it.
You’ve got this, Safety Friend.
Hi, I'm Brye (rhymes with sky)! I am a self-proclaimed safety geek with two decades of general industry safety experience. Specializing in bringing safety programs to a world-class level and building a safety culture, I have trained and coached many safety managers, just like you, on how to effectively manage workplace safety in the real world. I would love to help you too.